When a product arrives damaged, you need to act fast and document everything clearly.
This guide shows you what to do when a product arrives damaged, from collecting proof to contacting the seller and using resolution tools before deadlines.
Follow these steps to protect your money and push for a refund or replacement.
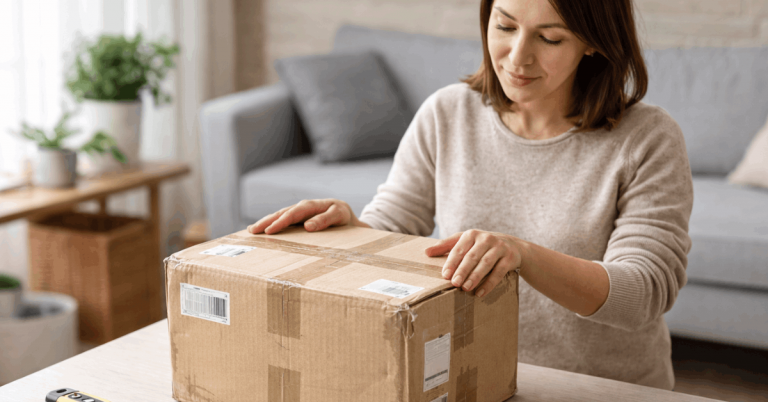
Confirm the Damage and Stop Using the Item
Confirm the damage fast and keep the item in the same condition for your claim.
- Inspect immediately: Check for cracks, dents, leaks, missing parts, or functional issues.
- Stop using it: Don’t keep testing or using it after you confirm the damage.
- Don’t repair or clean: Avoid fixes, wipes, tape, glue, or adjustments.
- Keep all packaging: Save the box, padding, inserts, tags, and accessories.
- Store it safely: Prevent extra damage while you contact the seller or open a dispute.

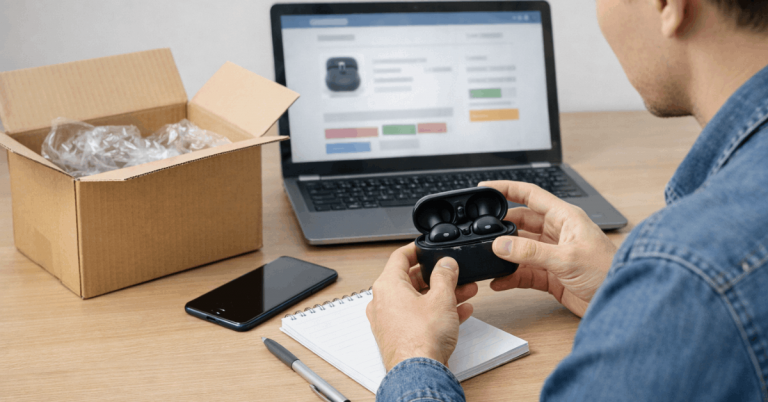
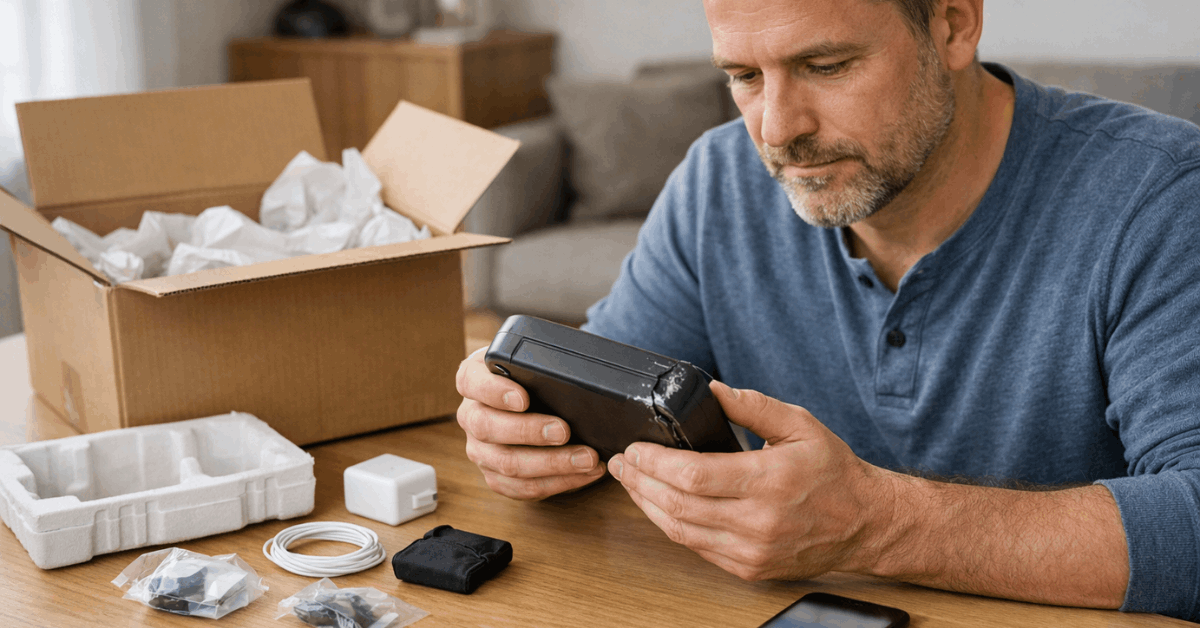
Document Evidence the Right Way
Strong evidence makes your claim easier to approve and faster to resolve.
- Start with packaging photos: Capture the outer box, shipping label area (blur personal info), and any dents or punctures.
- Show the unboxing context: Photograph inner padding, inserts, and how the item was positioned inside the box.
- Capture the damage clearly: Take wide shots for context and close-ups that show cracks, dents, leaks, or missing parts.
- Prove it’s the same item: Photograph the model/serial label, and all included accessories or missing pieces.
- Add a short video if needed: Record a quick clip showing the defect or a safe power-on test with no readable screens.
Check the Delivery Status and Timeline
You need the delivery timeline to prove the damage occurred before you touched the item and to meet claim deadlines.
- Confirm the delivery date/time: Screenshot the order page and carrier “delivered” scan.
- Check the claim window: Find the last day you can open a dispute or request a return.
- Review tracking history: Note handoffs, delays, “exception” scans, or route changes.
- Compare listing promises: Save stated delivery dates, packaging claims, and “damage-free” guarantees.
- Document when you opened it: Write the date you unboxed it and match it to the timestamps in your photos.
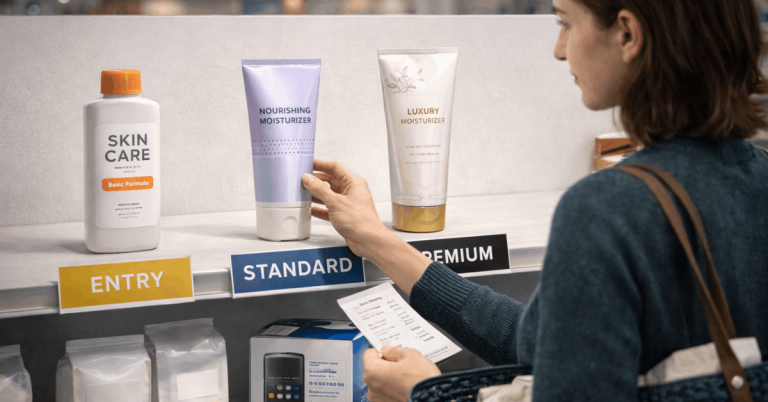
Decide What You Want: Refund, Replacement, or Partial Refund
You need to choose your goal early so your message and dispute align with a clear outcome.
- Request a refund: Get your full payment back for a damaged item.
- Request a replacement: Ask the seller to resend the same item in good condition.
- Request a partial refund: Keep the item and recover part of what you paid.
- Return the item: Ship it back when the platform requires a return to resolve the case.
- Escalate the case: Ask the marketplace to step in if the seller delays or refuses to deliver.

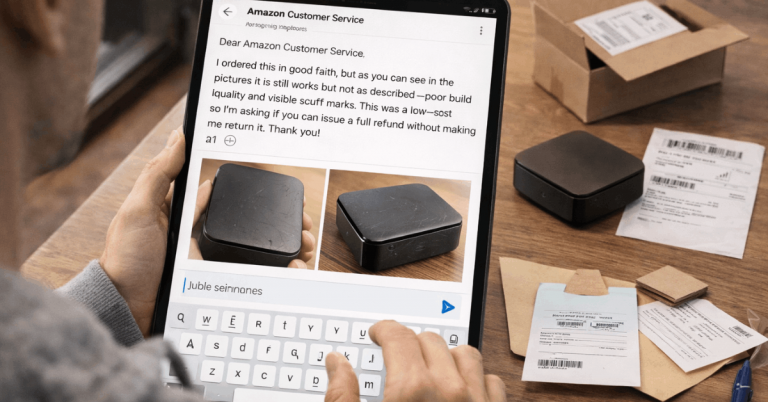
Contact the Seller With a Clear, Short Message
A clear, short message helps the seller act fast and keeps your case strong if you need to escalate.
- Open with the basics: Include order number, item name, and delivery date in the first line.
- Describe the damage in one sentence: State what is broken and whether it affects use or safety.
- Attach strong proof: Add 3–6 photos (box, packaging, damage, item ID) and a short video if needed.
- Ask for one outcome: Say “refund,” “replacement,” or “partial refund,” and avoid mixed requests.
- Set a simple deadline: Ask for a response within 24–48 hours so you can stay within platform rules.
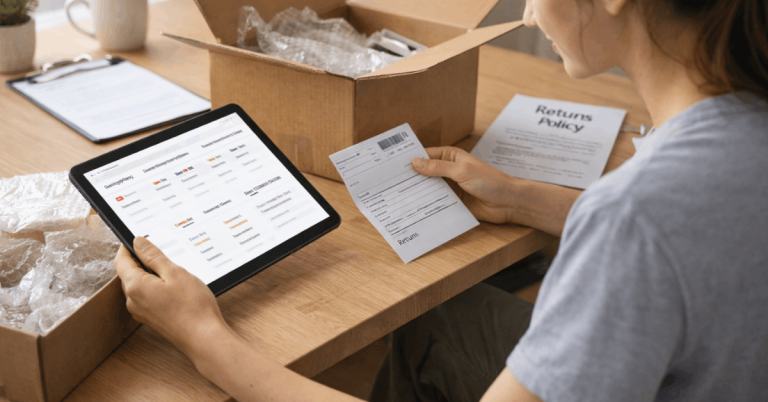
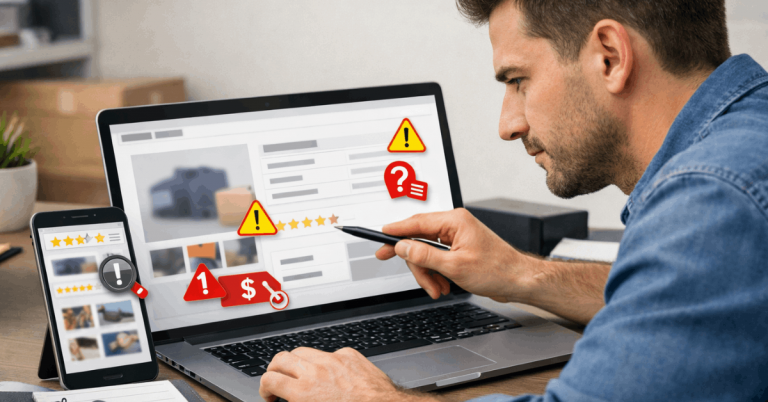
Use the Marketplace Resolution Center Correctly
Using the resolution center correctly keeps you protected and speeds up approvals.
- Open the case under the right reason: Choose “arrived damaged” or the closest match, not “changed my mind.”
- Upload proof in the right order: Box damage first, packaging next, item damage last, then item ID.
- Write a short timeline: Delivered date, unboxing date, when you messaged the seller, and what you requested.
- Follow the platform steps exactly: Use the return label process, required photos, and required fields.
- Don’t close the case early: Keep it open until you receive the refund or the replacement is confirmed.
Returns and Shipping: Protect Yourself
Returns can cost buyers money, so you need proof and tracking for every step.
- Confirm return rules first: Check if the seller or platform pays shipping, and whether a label is provided.
- Pack it like evidence: Use the original box if possible, add padding, and avoid new damage during transit.
- Photograph the return setup: Take photos of the item’s condition, accessories, and the sealed package before drop-off.
- Use tracked shipping only: Keep the tracking number, carrier receipt, and drop-off timestamp.
- Don’t ship outside the platform process: Use the official label and address so your protection stays valid.
Special Cases in International Orders
International orders add extra risk because packages pass through multiple carriers, warehouses, and customs checks.
- Handle customs and delays carefully: A late package is different from a damaged one, so keep tracking screenshots and focus on the delivery date.
- Treat high-value items as high-proof cases: Photograph serial numbers, seals, and accessories, and record a short safe test if needed.
- Flag “repacked” or re-taped boxes: Take photos before opening because this can explain missing padding or impact damage.
- Watch for restricted returns: Some categories (batteries, liquids, cosmetics) may require special return rules or proof of disposal.
- Expect split shipments or missing parts: Check if the order shows multiple parcels, then document exactly what arrived vs what didn’t.
If the Seller Refuses or Stalls
If the seller refuses or stalls, you need to protect your deadline and move the case forward fast.
- Stop negotiating in circles: Restate the damage, attach proof again, and repeat your single request.
- Escalate inside the platform: Ask the marketplace to step in as soon as the option appears.
- Keep a clean timeline: Save screenshots of messages, dates, and any promises the seller makes.
- Follow the dispute steps only: Don’t accept off-platform refunds, links, or “private” deals.
- Use payment protection if needed: If the platform fails and you’re eligible, consider a chargeback or payment dispute.
Prevent the Same Problem Next Time
You can’t control shipping, but you can lower your risk by choosing better sellers, safer shipping, and clearer item listings.
- Vet the seller first: Check recent reviews, photo reviews, and repeated “arrived damaged” complaints.
- Read the listing details closely: Look for clear specs, real photos, and a defined return policy.
- Choose safer shipping options: Prefer tracked shipping, better packaging services, and insurance when available.
- Buy smarter for fragile items: Avoid sellers with poor packaging, and consider local sellers for breakables.
- Inspect fast after delivery: Open promptly, document issues right away, and stay within dispute deadlines.
Quick Checklist: Your 10-Minute Action Plan
Use this 10-minute plan to secure proof, protect your deadline, and start the right claim.
- Stop using the item: Keep it in the same condition and save all packaging.
- Take key photos fast: Box, inner packing, damage close-ups, and item ID label.
- Save screenshots: Order page, delivery status, tracking timeline, and return/dispute deadline.
- Message the seller once: One short request for a refund, replacement, or partial refund with attachments.
- Open a case if needed: File in the resolution center before the deadline and upload your best proof.
Final Takeaway
If a product arrives damaged, you can usually resolve it by documenting clear evidence, contacting the seller with a single request, and using the marketplace resolution center before the deadline.
Keep everything in-platform, track every return step, and escalate fast if the seller stalls.
Start your claim today by following the 10-minute checklist and uploading your best photos first.